
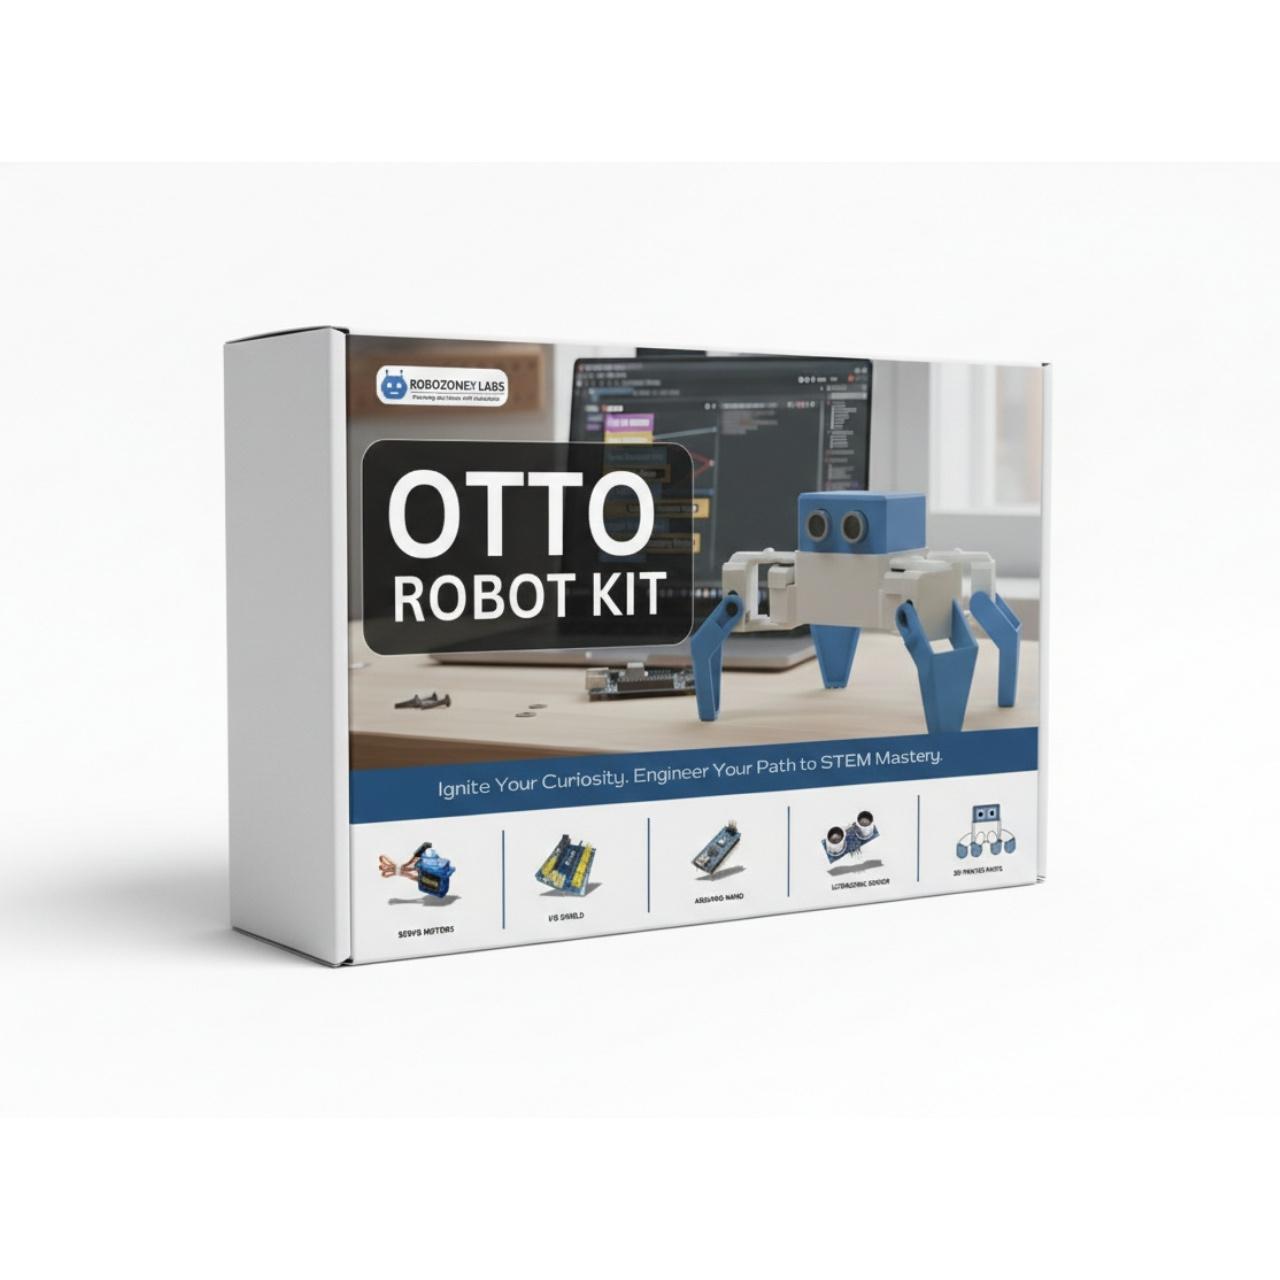
Introduction: The Mechanics of Open-Source Bipedal Locomotion
Two-legged (bipedal) walking is one of the most challenging kinematics problems in educational robotics. Unlike wheeled mobile robots that maintain continuous static stability, bipedal companions like the RoboZoneX Otto Robot Kit rely on alternating dynamic center-of-mass balancing across two feet and four degrees of freedom (4-DOF).
In this tutorial, we will break down the hardware architecture, servo zero-point calibration, walking gait mathematical models, and non-blocking sensor routines required to build an autonomous obstacle-avoiding bipedal robot from scratch.
Hardware Architecture & Kinematic Chain
The Otto bipedal platform utilizes four micro-servo actuators:
- Left Leg Servo (Roll/Pitch Axis): Controls foot lift and lateral weight shifting.
- Right Leg Servo (Roll/Pitch Axis): Coordinates weight transfer to the opposite foot.
- Left Foot Servo (Yaw Axis): Drives forward/backward step strides.
- Right Foot Servo (Yaw Axis): Completes the alternating stride cycle.
Crucial Assembly Step: Servo Trimming & Center Pulse
Before mounting the 3D-printed chassis horns, every servo must be electrically zeroed to precisely 90° (1500µs pulse width). Skipping this calibration causes asymmetric walking gaits and motor stall currents.
#include <Servo.h>

Servo servoLeftLeg;
Servo servoRightLeg;
Servo servoLeftFoot;
Servo servoRightFoot;

void setup() {
  servoLeftLeg.attach(2);
  servoRightLeg.attach(3);
  servoLeftFoot.attach(4);
  servoRightFoot.attach(5);

  // Set all servos to geometric center
  servoLeftLeg.write(90);
  servoRightLeg.write(90);
  servoLeftFoot.write(90);
  servoRightFoot.write(90);
}

void loop() {
  // Calibration hold
}
The 4-Phase Bipedal Gait Cycle
To move forward smoothly without tipping over, the robot executes a continuous four-phase walking loop:
- Weight Transfer (Roll Left): The right leg servo tilts the chassis ~20° to the left, lifting the right foot off the surface.
- Right Stride (Swing): The right foot servo swings forward by +30°.
- Touchdown & Level: Both leg servos return to 90°, grounding both feet firmly.
- Weight Transfer (Roll Right) & Left Stride: The opposite cycle executes to advance the left foot.
Integrating Non-Blocking Ultrasonic Obstacle Avoidance
Using blocking delay() statements inside gait loops creates jerky motion and misses incoming obstacle pulses. Instead, we use an interval-driven ultrasonic ranging routine with the HC-SR04 sensor:
const int TRIG_PIN = 8;
const int ECHO_PIN = 9;
const int OBSTACLE_DISTANCE_CM = 15;

long readUltrasonicDistance() {
  digitalWrite(TRIG_PIN, LOW);
  delayMicroseconds(2);
  digitalWrite(TRIG_PIN, HIGH);
  delayMicroseconds(10);
  digitalWrite(TRIG_PIN, LOW);

  long duration = pulseIn(ECHO_PIN, HIGH, 25000); // 25ms timeout (~4m max)
  if (duration == 0) return 999; // No echo detected
  return duration * 0.034 / 2;
}

void checkAndNavigate() {
  long distance = readUltrasonicDistance();

  if (distance < OBSTACLE_DISTANCE_CM) {
    // Perform evasion maneuver: Step back & execute 90° pivot turn
    executeWalkBackward(2);
    executePivotTurnRight(3);
  } else {
    executeWalkForward(1);
  }
}
Best Practices for Power & Servos
- Isolate Power Rails: Servos draw peak current spikes up to 1.2A when changing direction. Always use a dedicated 5V 2A regulator or 2S LiPo battery with a buck converter rather than drawing current directly from the microcontroller 5V rail.
- Surface Friction: Add small silicone rubber pads under the 3D-printed feet to prevent slipping on smooth tiles.
The RoboZoneX Otto Robot kit represents the perfect gateway into mechatronics and control theory for both high-school STEM labs and university robotics clubs.